
How to Make Kadai Paneer: A Flavorful North Indian Delight
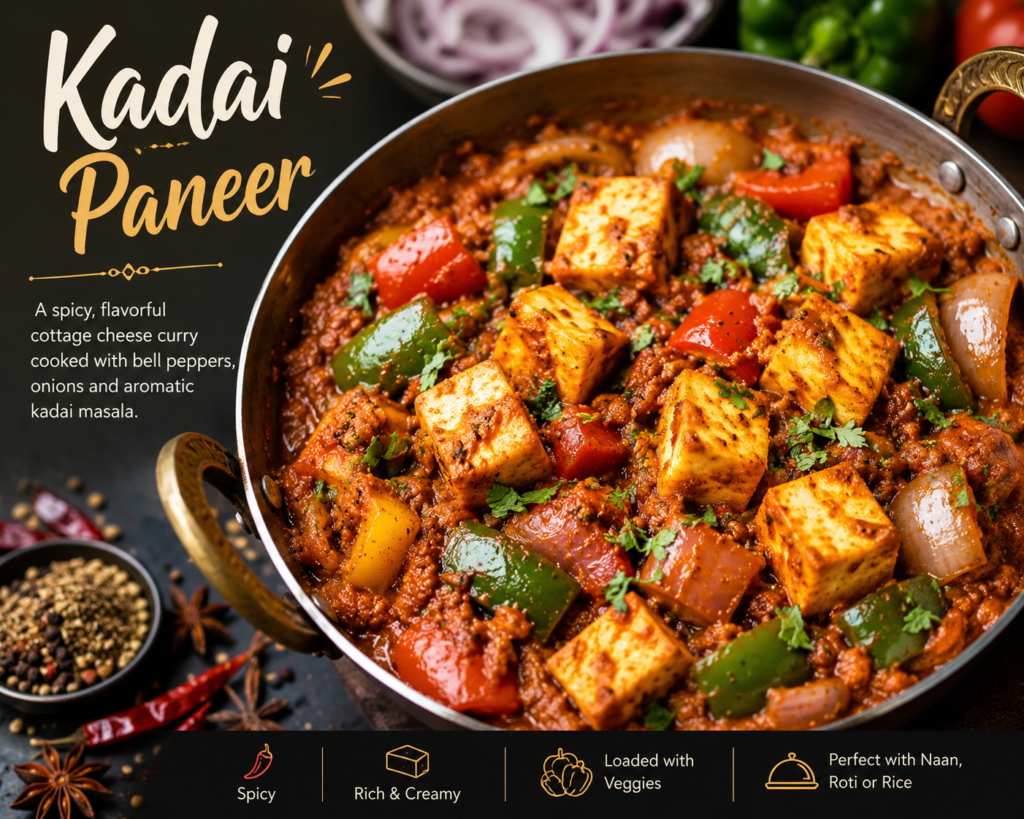
Kadai Paneer is one of the most popular North Indian dishes loved for its rich flavors, aromatic spices, and delicious combination of paneer (Indian cottage cheese), bell peppers, and onions. The dish gets its name from the traditional Indian wok called a “kadai” in which it is cooked. Whether you’re preparing a family dinner or hosting guests, Kadai Paneer is a perfect vegetarian recipe that pairs wonderfully with naan, roti, paratha, or jeera rice.
In this blog, you’ll learn how to make restaurant-style Kadai Paneer at home with simple ingredients and easy-to-follow steps.
What is Kadai Paneer?
Kadai Paneer is a spicy and flavorful curry made with paneer cubes, onions, capsicum, tomatoes, and freshly ground kadai masala. Unlike other paneer curries that are rich and creamy, Kadai Paneer has a semi-dry or gravy-based consistency with a bold and aromatic taste.
The highlight of this dish is the freshly roasted and ground spices, which give it a unique flavor that sets it apart from other paneer recipes.
Ingredients Required
For Kadai Masala
-
- 2 tablespoons coriander seeds
-
- 1 teaspoon cumin seeds
-
- 3–4 dried red chilies
-
- 4–5 black peppercorns
-
- 2 green cardamoms
For the Curry
-
- 250 grams paneer, cut into cubes
-
- 2 medium onions, sliced
-
- 1 green capsicum, sliced
-
- 3 medium tomatoes, finely chopped
-
- 1 tablespoon ginger-garlic paste
-
- 2 tablespoons oil or butter
-
- ½ teaspoon turmeric powder
-
- 1 teaspoon red chili powder
-
- 1 teaspoon garam masala
-
- Salt to taste
-
- ½ cup water
-
- 1 tablespoon fresh cream (optional)
-
- Fresh coriander leaves for garnish
Step-by-Step Recipe
Step 1: Prepare the Kadai Masala
Heat a pan on low flame and dry roast coriander seeds, cumin seeds, dried red chilies, black peppercorns, and cardamoms for 2–3 minutes until aromatic.
Allow the spices to cool and then grind them into a coarse powder. This homemade kadai masala is the secret ingredient that gives the dish its authentic restaurant-style flavor.
Step 2: Sauté the Vegetables
Heat oil or butter in a kadai or deep pan. Add sliced onions and sauté until they become translucent.
Add ginger-garlic paste and cook for one minute until the raw smell disappears.
Next, add chopped tomatoes and cook until they become soft and form a thick paste.
Step 3: Add the Spices
Add turmeric powder, red chili powder, salt, and the freshly prepared kadai masala. Mix well and cook for 2–3 minutes.
The mixture should release oil from the sides, indicating that the masala is cooked properly.
Step 4: Add Capsicum
Add sliced capsicum and stir-fry for 2–3 minutes. Keep the capsicum slightly crunchy for the best texture and flavor.
Step 5: Add Paneer
Gently add paneer cubes to the masala and mix carefully so that the paneer does not break.
Pour in half a cup of water if you prefer a gravy consistency. For a semi-dry version, add very little water.
Cook for 3–4 minutes on low heat.
Step 6: Final Touch
Sprinkle garam masala and mix well. Add fresh cream if you want a richer taste.
Turn off the heat and garnish with freshly chopped coriander leaves.
Your delicious Kadai Paneer is now ready to serve.
Tips for Perfect Kadai Paneer
Use Fresh Paneer
Fresh and soft paneer makes a huge difference in taste and texture. If using store-bought paneer, soak it in warm water for 10 minutes before cooking.
Don’t Overcook Capsicum
Capsicum should remain slightly crunchy to maintain the authentic restaurant-style texture.
Freshly Ground Masala is Key
Avoid using ready-made kadai masala if possible. Freshly roasted and ground spices provide a richer aroma and flavor.
Adjust Spice Levels
You can increase or decrease the number of red chilies according to your spice preference.
Nutritional Benefits of Kadai Paneer
Kadai Paneer is not only delicious but also nutritious.
-
- Rich source of protein from paneer
-
- Contains calcium that supports bone health
-
- Provides vitamins and antioxidants from bell peppers and tomatoes
-
- Suitable for vegetarians looking for a protein-rich meal
Best Side Dishes to Serve with Kadai Paneer
Kadai Paneer pairs perfectly with:
-
- Butter Naan
-
- Garlic Naan
-
- Tandoori Roti
-
- Laccha Paratha
-
- Jeera Rice
-
- Plain Basmati Rice
Adding a side of fresh salad and mint chutney can further enhance the dining experience.
Conclusion
Kadai Paneer is a classic North Indian recipe that combines soft paneer, crunchy capsicum, and aromatic spices into a mouthwatering dish. With its bold flavors and simple cooking process, it has become a favorite in homes and restaurants alike.
By following this easy recipe, you can prepare authentic restaurant-style Kadai Paneer in your own kitchen and impress your family and guests. Serve it hot with naan or rice for a satisfying and flavorful meal.
Prep Time: 15 minutes
Cooking Time: 25 minutes
Total Time: 40 minutes
Serves: 4 people
Far far away, behind the word mountains, far from the countries Vokalia and Consonantia, there live the blind texts. Separated they live in Bookmarksgrove right at the coast
Far far away, behind the word mountains, far from the countries Vokalia and Consonantia, there live the blind texts. Separated they live in Bookmarksgrove right at the coast
Far far away, behind the word mountains, far from the countries Vokalia and Consonantia, there live the blind texts. Separated they live in Bookmarksgrove right at the coast